Easy Halloween Dipped Oreo Cookies Recipe
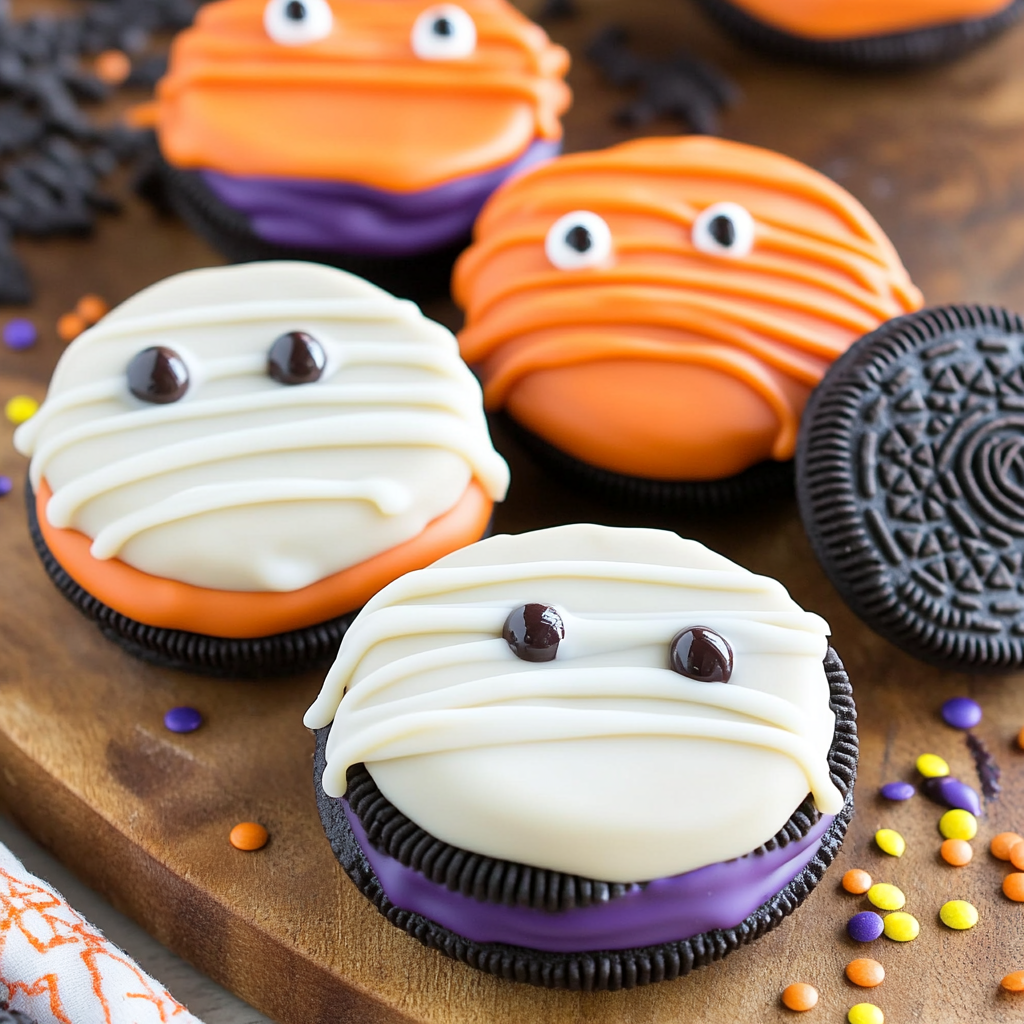
Spookiness just got a sweet twist! The Easy Halloween Dipped Oreo Cookies Recipe is perfect for any festive gathering or Halloween party. With delightful designs and an array of colors, these cookies are sure to amaze both kids and adults. Plus, they are simple to make, making them an ideal treat for beginners and seasoned bakers alike!
Why You’ll Love This Recipe
- Quick Preparation: With just 25 minutes total time, you can whip up a fun treat in no time.
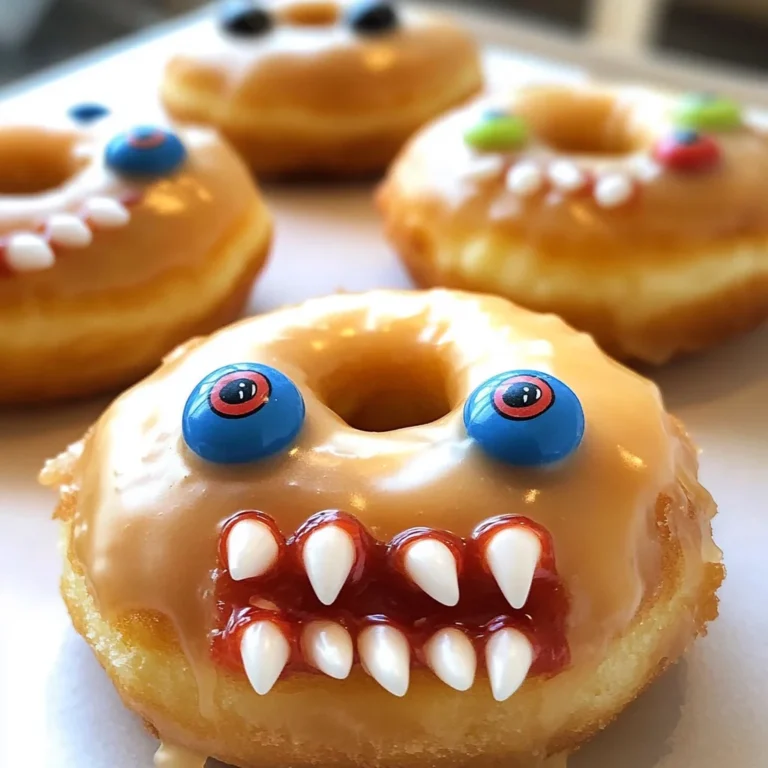
- Versatile Decoration: Customize your cookies with sprinkles and candy eyes to create spooky mummies or silly monsters.
- Family-Friendly Activity: Enjoy making these cookies together as a family, letting everyone add their personal touch.
Tools and Preparation
Before diving into the fun of decorating cookies, gather the necessary tools to simplify your baking process.
Essential Tools and Equipment
- Cookie sheet
- Wax paper or parchment paper
- Microwave-safe bowl
- Spoon
- Fork
- Piping bag with small tip
Importance of Each Tool
- Cookie sheet: Essential for transferring decorated cookies, keeping them flat while they cool.
- Wax paper or parchment paper: Prevents cookies from sticking to the sheet, making cleanup easy.
- Microwave-safe bowl: Ideal for melting candy wafers without creating a mess.
Ingredients
To create these delightful treats, gather the following ingredients:
For the Cookies
- 1 package Halloween Oreos (or any type of sandwich cookie)
For the Coating
- 6 oz chocolate melting wafers
- 6 oz orange candy melting wafers
- 8 oz white candy melting wafers
- 6 oz purple candy melting wafers
For Decoration
- Sprinkles
- Candy eyes
How to Make Easy Halloween Dipped Oreo Cookies Recipe
Step 1: Prepare Your Workspace
Line a cookie sheet with wax paper or parchment paper. This will help prevent sticking once your cookies are dipped.
Step 2: Melt Your Candy Wafers
Melt the candy melts in a microwave-safe bowl in 30-second increments until smooth (approximately 1 minute). Repeat this step for each color.
Step 3: Dip the Oreos
Take one Oreo and dip it into the melted candy wafers or chocolate. Use a spoon to fully cover the cookie. Carefully scoop it out with a fork and tap on the side of the bowl to remove excess coating.
Step 4: Decorate Immediately
Transfer the dipped Oreo to your prepared cookie sheet. While still warm, decorate with sprinkles and candy eyes so that they stick well.
Step 5: Let Them Set
Allow the cookies to harden for about 1 hour. After they’ve set, use a piping bag with a small tip to create mummy designs if desired. Enjoy your spooky creations!
How to Serve Easy Halloween Dipped Oreo Cookies Recipe
These delightful Halloween Dipped Oreo Cookies are perfect for festive gatherings and parties. With their vibrant colors and fun designs, they can be served in various creative ways.
Cookie Platter
- Arrange the decorated cookies on a large platter for a stunning display. Mix different designs to add visual interest.
Treat Bags
- Place individual cookies in clear treat bags tied with orange or black ribbons. These make great party favors for guests to take home.
Dessert Table Centerpiece
- Use a tiered stand to showcase your cookies at a dessert table. This elevates the presentation and makes it a focal point of your Halloween celebration.
Halloween-Themed Plates
- Serve the cookies on Halloween-themed plates featuring spooky designs. This adds an extra layer of fun to your dessert presentation.
Kid-Friendly Snack Station
- Set up a snack station where kids can decorate their own cookies with extra sprinkles and candy eyes. This interactive element makes it even more enjoyable!
How to Perfect Easy Halloween Dipped Oreo Cookies Recipe
Creating the perfect Halloween Dipped Oreo Cookies is simple with these helpful tips. Follow these suggestions for an even more delightful treat.
- Use quality chocolate melts: Higher quality melting wafers yield smoother coatings that look more appealing.
- Work in small batches: Melt only a few wafers at a time to keep them warm and easy to work with.
- Tap off excess coating: After dipping, gently tap the cookie on the bowl’s edge to remove excess chocolate, which helps avoid pooling.
- Decorate while wet: Add sprinkles or candy eyes immediately after dipping, ensuring they stick well before hardening.
- Store properly: Keep decorated cookies in an airtight container at room temperature to maintain freshness and texture.
Best Side Dishes for Easy Halloween Dipped Oreo Cookies Recipe
Pairing side dishes with your Easy Halloween Dipped Oreo Cookies can enhance your dessert spread. Here are some fun options that complement the sweet treats perfectly.
- Pumpkin Spice Muffins: Moist muffins flavored with pumpkin spice add warmth and seasonal flavor.
- Caramel Apple Slices: Crisp apple slices drizzled with caramel provide a fresh contrast to the sweets.
- Spooky Cheese Platter: A selection of cheeses shaped like ghosts or pumpkins adds savory variety to your dessert table.
- Ghostly Fruit Cups: Fill cups with assorted fruits topped with whipped cream ghosts for a refreshing treat.
- Witch’s Brew Punch: A colorful fruit punch served in cauldrons can quench thirst while fitting the theme perfectly.
- Chocolate-Dipped Pretzels: Salty pretzels dipped in chocolate create a sweet-salty combination that pairs well with cookies.
- Veggie Monsters: Fun veggie platters arranged like monsters offer a healthy option amidst the sweets.
- Mini Pumpkin Pies: Bite-sized pumpkin pies bring another holiday favorite that guests will love alongside the cookies.
Common Mistakes to Avoid
When making your Easy Halloween Dipped Oreo Cookies, it’s important to steer clear of common pitfalls. Here are some mistakes to watch out for:
- Boldly over-melting the chocolate: If you microwave the candy wafers for too long, they can seize up. Melt in 30-second intervals and stir in between to keep them smooth.
- Boldly skipping the cooling time: Not allowing the cookies to harden properly can lead to messy decorations. Be patient and let them set for at least an hour.
- Boldly neglecting decoration timing: Adding sprinkles and candy eyes after the coating has hardened will prevent them from sticking. Decorate immediately after dipping.
- Boldly using stale cookies: If your Oreos are not fresh, the final product may not taste as good. Choose a new package for the best flavor.
- Boldly forgetting about cleanup: Melting chocolate can get messy! Prepare your workspace with wax paper or parchment paper for easy cleanup.

Storage & Reheating Instructions
Refrigerator Storage
- Store in an airtight container for up to 1 week.
- Keep layers of cookies separated with parchment paper to avoid sticking.
Freezing Easy Halloween Dipped Oreo Cookies Recipe
- Freeze for up to 3 months in an airtight container.
- Make sure they are completely cooled before freezing to maintain texture.
Reheating Easy Halloween Dipped Oreo Cookies Recipe
- Oven: Preheat to 350°F (175°C) and warm cookies on a baking sheet for about 5 minutes.
- Microwave: Heat one cookie at a time for about 10-15 seconds until slightly warm.
- Stovetop: Use a non-stick skillet on low heat, cover, and warm for 2-3 minutes.
Frequently Asked Questions
If you’re curious about more details regarding this recipe, here are some frequently asked questions:
Can I use different types of cookies in this Easy Halloween Dipped Oreo Cookies Recipe?
Yes! Any sandwich cookie will work well. Just adjust your melting colors accordingly.
What if I can’t find Halloween Oreos?
Regular Oreos or any flavored sandwich cookie can be used instead. The fun is in the decoration!
How do I make my designs stand out?
Use contrasting colors of candy melts for decoration. Dark colors against light ones tend to pop visually!
Can children help with this Easy Halloween Dipped Oreo Cookies Recipe?
Absolutely! Kids can participate in dipping and decorating, making it a fun family activity.
Final Thoughts
The Easy Halloween Dipped Oreo Cookies Recipe is a delightful treat that’s sure to impress at any gathering. With options to customize decorations and flavors, these cookies can be tailored to fit any theme. Perfect for parties or just a fun afternoon project, don’t hesitate to give this recipe a try!
Easy Halloween Dipped Oreo Cookies Recipe

Get ready to delight your guests with the Easy Halloween Dipped Oreo Cookies Recipe! These spooky treats are not only fun to make, but they also offer a fantastic opportunity for creativity. With vibrant colors and whimsical designs, these dipped Oreos will captivate both children and adults at any festive gathering. In just 25 minutes, you can whip up a batch that looks as good as it tastes. Perfect for parties or family activities, everyone can join in the decorating fun. So grab your supplies and let’s get started on these deliciously festive cookies!
- Prep Time: 15 minutes
- Cook Time: 10 minutes
- Total Time: 25 minutes
- Yield: Approximately 12 servings 1x
- Category: Dessert
- Method: Baking
- Cuisine: American
Ingredients
- 1 package Halloween Oreos (or any sandwich cookie)
- 6 oz chocolate melting wafers
- 6 oz orange candy melting wafers
- 8 oz white candy melting wafers
- 6 oz purple candy melting wafers
- Sprinkles
- Candy eyes
Instructions
- Prepare your workspace by lining a cookie sheet with wax paper or parchment paper.
- In a microwave-safe bowl, melt each color of candy wafers in 30-second increments until smooth.
- Dip each Oreo into the melted candy, using a spoon to coat completely. Tap off excess coating gently.
- Place dipped cookies onto the prepared sheet and quickly decorate with sprinkles and candy eyes while still warm.
- Allow cookies to set for about 1 hour before enjoying.
Nutrition
- Serving Size: 1 cookie (24g)
- Calories: 120
- Sugar: 12g
- Sodium: 30mg
- Fat: 7g
- Saturated Fat: 4g
- Unsaturated Fat: 3g
- Trans Fat: 0g
- Carbohydrates: 14g
- Fiber: 0g
- Protein: 1g
- Cholesterol: 0mg