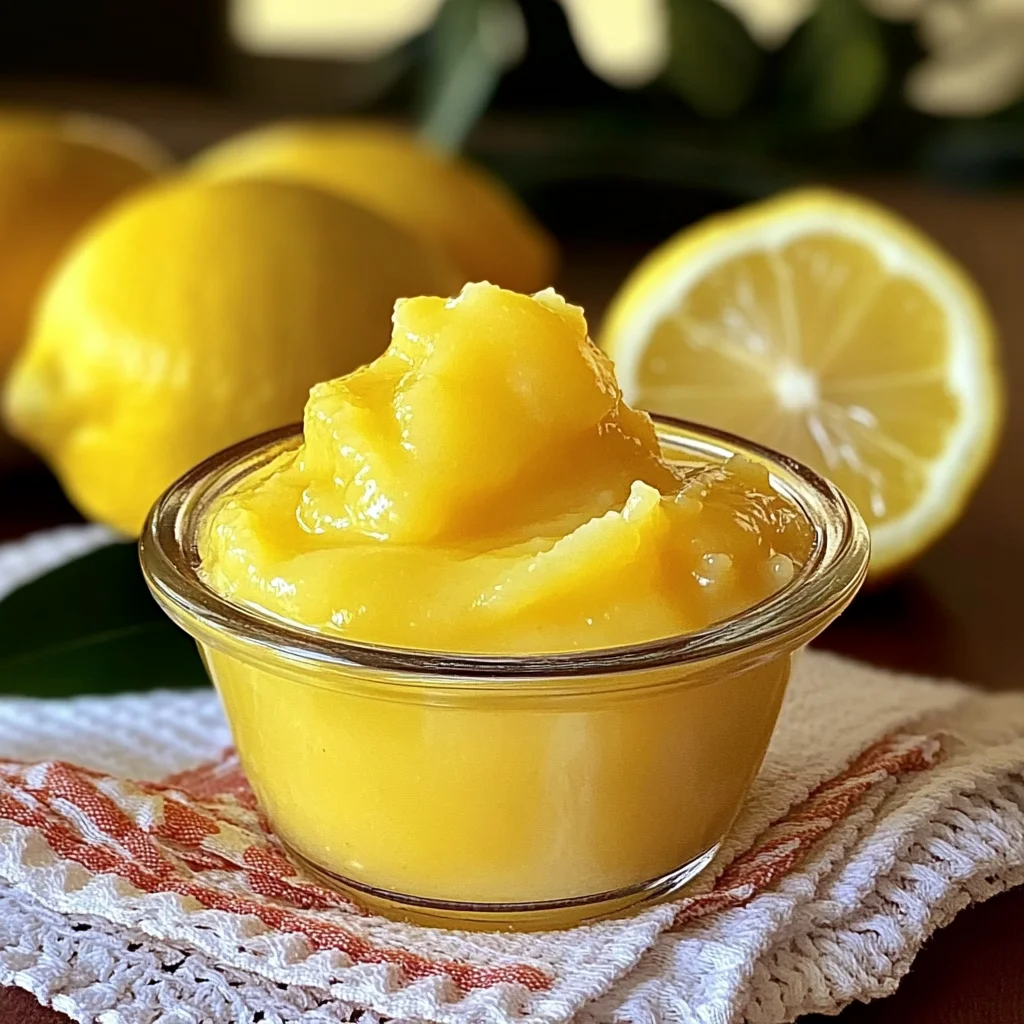
How to Make Lemon Curd
Bright, tart, and tasty … the possibilities with Lemon Curd are seemingly endless. And fortunately for lemon lovers, making homemade Lemon Curd is not hard at all! This delightful spread is perfect for desserts, breakfast treats, or even as a filling for pastries. Its vibrant flavor and creamy texture make it a standout addition to any table, suitable for both casual gatherings and special occasions.
Why You’ll Love This Recipe
- Easy to Make: With just a few simple steps, you can whip up this delightful treat in no time.
- Versatile Use: Spread it on toast, use it in desserts, or enjoy it straight from the jar!
- Fresh Ingredients: Using fresh lemons ensures that your curd is bursting with bright flavor.
- Customizable Flavor: Feel free to experiment with different citrus fruits for unique variations.
- Great for Gift Giving: Homemade lemon curd makes a thoughtful gift that friends and family will love.
Tools and Preparation
To create the perfect lemon curd, having the right tools on hand will streamline your cooking process. Here’s what you’ll need to get started.
Essential Tools and Equipment
- Medium saucepan
- Whisk
- Mixing bowl
- Measuring cups and spoons
- Fine mesh strainer (optional)
Importance of Each Tool
- Medium saucepan: This allows for even heating while cooking the curd, preventing burning.
- Whisk: A whisk helps to incorporate ingredients smoothly and ensures a lump-free mixture.
- Mixing bowl: Ideal for cooling the lemon curd once it’s cooked, allowing it to thicken properly.
Ingredients
To make this delightful Lemon Curd, gather the following ingredients:
For the Lemon Curd
- 1 c. + 2 T. granulated sugar
- 1 T. cornstarch
- 1/8 tsp. salt
- 1 c. fresh lemon juice (approximately 5 lemons)
- 3 large eggs
- 2 T. unsalted butter
- 1 tsp. grated lemon rind
How to Make Lemon Curd
Now that you have everything ready, let’s dive into how to make Lemon Curd!
Step 1: Combine Dry Ingredients
In a medium saucepan:
1. Combine sugar, cornstarch, and salt.
2. Stir with a whisk until well mixed.
Step 2: Add Wet Ingredients
Next:
1. Stir in lemon juice and eggs.
2. Bring the mixture to a boil over medium heat while stirring constantly with a whisk.
Step 3: Thicken the Mixture
Once boiling:
1. Reduce heat to simmer.
2. Cook for about 1 minute or until thickened while continuing to stir constantly.
Step 4: Add Butter and Rind
After thickening:
1. Remove the pan from heat.
2. Add butter and lemon rind, stirring gently until the butter melts completely.
Step 5: Cool and Chill
Finally:
1. Spoon the mixture into a bowl and allow it to cool at room temperature.
2. Cover and chill in the refrigerator for at least 6 hours or overnight; this will help thicken your lemon curd further.
Enjoy your homemade Lemon Curd! It’s perfect as a topping or filling for various desserts or simply enjoyed on its own!
How to Serve How to Make Lemon Curd
Lemon curd is a versatile treat that can brighten up many dishes. Whether you’re enjoying it straight from the jar or using it as a component in a dessert, there are numerous ways to serve this delightful creation.
Spread on Toast
- Toasted bread topped with lemon curd makes for a refreshing breakfast or snack that adds a zesty twist.
Fill Cupcakes
- Use lemon curd as a filling for cupcakes. The tartness complements sweet cake and buttercream beautifully.
Drizzle Over Pancakes
- A drizzle of lemon curd over pancakes adds a vibrant flavor that elevates your morning meal.
Pair with Scones
- Serve lemon curd alongside freshly baked scones for an elegant afternoon tea experience.
Layer in Parfaits
- Alternate layers of lemon curd with yogurt and granola in a parfait for a light and tasty dessert.
Top Cheesecake
- Use lemon curd as a topping for cheesecake. It brings a bright contrast to the rich creaminess.
How to Perfect How to Make Lemon Curd
To achieve the perfect texture and flavor in your lemon curd, keep these tips in mind.
-
Use fresh lemons: Freshly squeezed lemon juice enhances the flavor significantly compared to bottled juice.
-
Whisk constantly: Stirring continuously prevents the eggs from cooking too quickly, ensuring a smooth consistency.
-
Temperature control: Keep the heat at medium; too high can scramble the eggs, ruining your curd.
-
Cool completely: Allow the curd to cool fully before refrigerating. It will thicken more as it chills.
-
Store properly: Use an airtight container in the fridge to keep your lemon curd fresh and flavorful for longer.
Best Side Dishes for How to Make Lemon Curd
Lemon curd pairs well with various side dishes that complement its bright flavor. Here are some great options to consider.
-
Shortbread Cookies: Buttery shortbread cookies provide a delightful crunch that contrasts nicely with creamy lemon curd.
-
Fruit Salad: A mix of fresh fruits adds sweetness and balances the tartness of lemon curd perfectly.
-
Greek Yogurt: Creamy Greek yogurt topped with lemon curd creates a deliciously tangy snack or breakfast option.
-
Pavlova: This meringue-based dessert, topped with whipped cream and fruit, pairs wonderfully with dollops of lemon curd.
-
Crepes: Thin crepes filled with lemon curd can be folded over and served warm for an elegant treat.
-
Ice Cream: A scoop of vanilla ice cream drizzled with lemon curd makes for an indulgent dessert that’s easy to prepare.
Common Mistakes to Avoid
Making Lemon Curd can seem simple, but a few common mistakes can lead to unsatisfactory results. Here are some pitfalls to avoid:
-
Overheating the Mixture – Cooking the lemon curd too quickly can cause it to curdle. Always use medium heat and stir constantly to maintain a smooth texture.
-
Ignoring the Egg Quality – Using low-quality eggs can affect the flavor and texture of your curd. Opt for fresh, high-quality eggs for the best results.
-
Not Straining the Mixture – Failing to strain the curd can leave you with an undesirable texture. Use a fine mesh strainer after cooking to achieve a silky finish.
-
Skipping the Cooling Process – Allowing your lemon curd to cool properly is essential for thickening. Be patient and let it chill in the refrigerator for at least 6 hours or overnight.
-
Using Bottled Lemon Juice – Bottled lemon juice lacks freshness and flavor compared to fresh lemons. Always use freshly squeezed lemon juice for vibrant taste.
Storage & Reheating Instructions
Refrigerator Storage
- Store in an airtight container for up to 1 week.
- Ensure it’s completely cooled before sealing to prevent condensation.
Freezing How to Make Lemon Curd
- Freeze in an airtight container for up to 3 months.
- Leave some space at the top of the container as it will expand when frozen.
Reheating How to Make Lemon Curd
- Oven – Place in a heatproof dish and warm at low temperature. Stir occasionally until heated through.
- Microwave – Heat in short intervals (15-20 seconds), stirring between each burst until warm.
- Stovetop – Gently heat in a saucepan over low heat, stirring constantly until warmed through.
Frequently Asked Questions
If you’re curious about making Lemon Curd, you might have these questions:
How to Make Lemon Curd with Different Citrus?
You can easily substitute lemons with other citrus fruits like limes or oranges for unique flavors while following the same method.
Can I Use Coconut Oil Instead of Butter?
Yes, coconut oil can be used as a dairy-free alternative for butter, adding a subtle coconut flavor while keeping it creamy.
How long does homemade lemon curd last?
Homemade lemon curd lasts about one week in the refrigerator and can be frozen for up to three months if stored properly.
What’s the best way to use lemon curd?
Lemon curd is versatile! Use it as a spread on toast, filling for cakes, or topping for desserts like pavlova or cheesecake.
Final Thoughts
This recipe shows how easy it is to make delicious homemade Lemon Curd that brightens any dessert. With its refreshing tartness, you can customize it with different fruits or serve it in various ways. Give this delightful treat a try and explore all its possibilities!
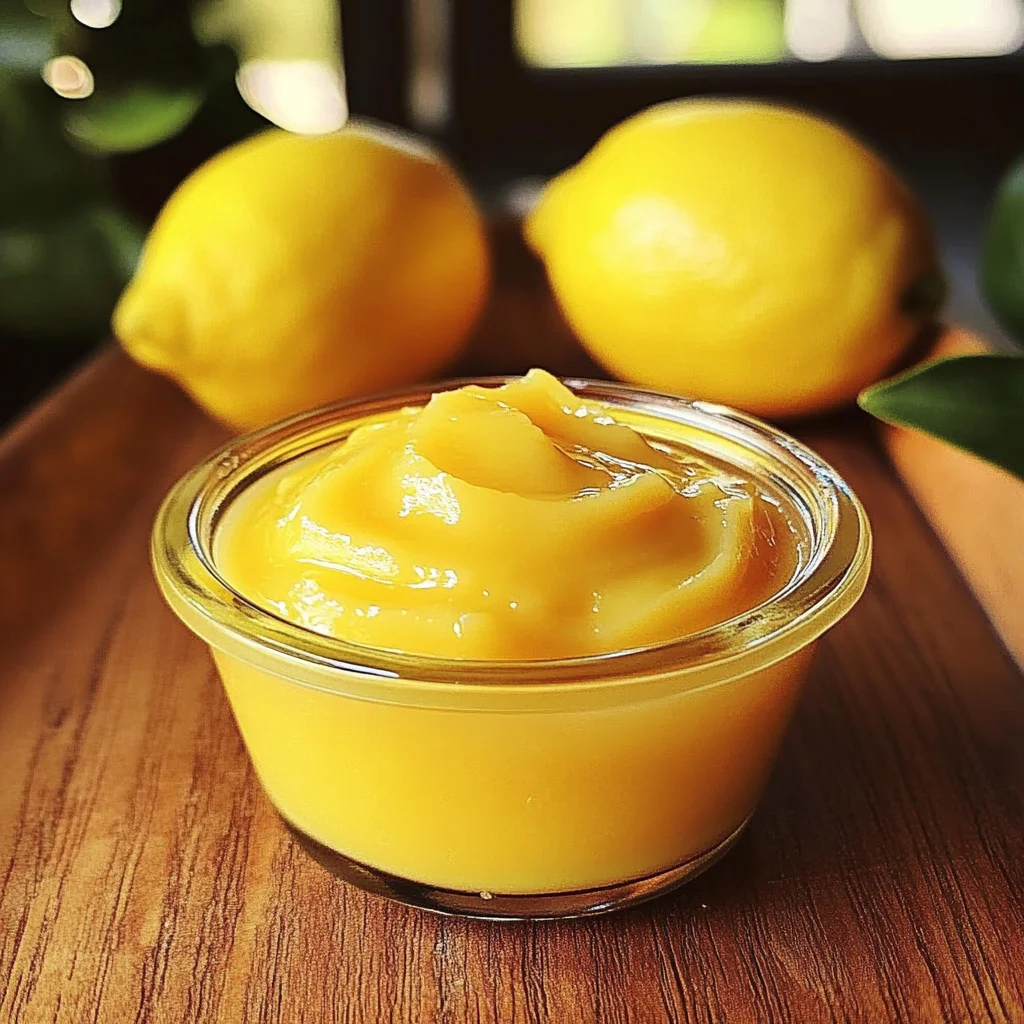
Homemade Lemon Curd

Bright, tangy, and irresistibly creamy, homemade lemon curd is a delightful addition to your culinary repertoire. This versatile spread can be enjoyed in countless ways: slather it on toast for a refreshing breakfast, use it as a filling for pastries or cupcakes, or simply savor it by the spoonful. With just a few easy steps, you can create this vibrant treat using fresh lemons that burst with flavor. Perfect for gifting or elevating any dessert, making lemon curd at home is not only simple but also incredibly rewarding.
- Prep Time: 15 minutes
- Cook Time: 10 minutes
- Total Time: 25 minutes
- Yield: Approximately 12 servings (2 tablespoons each) 1x
- Category: Dessert
- Method: Cooking
- Cuisine: American
Ingredients
- 1 cup + 2 tablespoons granulated sugar
- 1 tablespoon cornstarch
- 1/8 teaspoon salt
- 1 cup fresh lemon juice (approximately 5 lemons)
- 3 large eggs
- 2 tablespoons unsalted butter
- 1 teaspoon grated lemon rind
Instructions
- In a medium saucepan, whisk together sugar, cornstarch, and salt until combined.
- Stir in fresh lemon juice and eggs. Cook over medium heat while constantly whisking until the mixture comes to a boil.
- Reduce heat to simmer and cook for about 1 minute until thickened.
- Remove from heat and stir in butter and lemon rind until melted.
- Transfer to a bowl, let cool to room temperature, then cover and chill in the refrigerator for at least 6 hours before serving.
Nutrition
- Serving Size: 30g
- Calories: 100
- Sugar: 12g
- Sodium: 25mg
- Fat: 3g
- Saturated Fat: 2g
- Unsaturated Fat: 1g
- Trans Fat: 0g
- Carbohydrates: 16g
- Fiber: <1g
- Protein: <1g
- Cholesterol: 50mg